21, Nov 2023
How To Cook Costco Bao Buns
In this article, I’m going to explain how to cook Costco bao buns. Enjoy this delicious recipe with me.
Bao buns have become increasingly popular in recent years thanks to their soft, pillowy texture and delicious fillings. Costco, a well-known warehouse retailer, offers frozen bao buns that make it convenient for you to enjoy these delightful treats at home.
In this step-by-step guide, we will walk you through cooking Costco bao buns, ensuring you achieve perfect results every time. So, let’s get started!
I have also written about how to cook beef knuckles. You can also check it out.
What are Costco Bao Buns?
Bao buns, or steamed buns, are a traditional Chinese delicacy that has gained worldwide recognition. These fluffy, yeast-based buns are typically filled with various ingredients, such as marinated meats, vegetables, and sauces.
Costco offers a frozen version of these buns, making it easier to enjoy them without extensive preparation.
how to cook Costco bao buns: Step-By-Step-Process
Ingredients Required
To cook Costco bao buns, you will need the following ingredients:
- Costco frozen bao buns
- Your choice of filling (e.g., marinated pork, chicken, or vegetables)
- Fresh vegetables for garnish (e.g., lettuce, cucumber, or pickled radish)
- Sauces and condiments (e.g., hoisin sauce, sriracha, or soy sauce)
- Cooking oil for pan-frying or steaming
Ensure that you have all these ingredients ready before you begin cooking.
Step 1: Thawing the Bao Buns
The first step in cooking Costco bao buns is to thaw them properly. Follow these instructions to ensure that the buns are ready for cooking:
- Remove the desired number of bao buns from the packaging.
- Place the buns on a plate or tray and leave them at room temperature for approximately 30 minutes to thaw.
- Ensure the buns are completely thawed before moving on to the next steps.
Thawing the bao buns allows them to steam evenly, ensuring a soft and fluffy texture.
Step 2: Preparing the Filling
While the bao buns are thawing, you can prepare the filling for your buns. The filling options are endless, and you can get creative with different combinations. Here’s a simple marinated pork filling recipe:
Marinated Pork Filling Ingredients:
- 1 pound of pork shoulder, thinly sliced
- Two tablespoons of soy sauce
- One tablespoon of hoisin sauce
- One tablespoon of oyster sauce
- One tablespoon of sesame oil
- Two cloves of garlic, minced
- One teaspoon of grated ginger
- One tablespoon of brown sugar
- Two green onions, chopped
Marinated Pork Filling Instructions:
- Combine the soy sauce, hoisin sauce, oyster sauce, sesame oil, minced garlic, grated ginger, and brown sugar in a bowl.
- Add the thinly sliced pork shoulder to the bowl and mix well, ensuring the pork is coated with the marinade.
- Cover the bowl with plastic wrap and let the pork marinate in the refrigerator for at least 30 minutes or overnight.
- Heat a tablespoon of cooking oil in a frying pan on medium heat.
- Add the marinated pork to the pan until fully cooked and well-browned.
- Add the chopped green onions and cook for another minute, stirring to combine.
Feel free to customize the filling according to your taste preferences or dietary restrictions. Vegetarian fillings with tofu or mushrooms are also excellent alternatives.
Step 3: Cooking the Filling
Once the filling is prepared, it’s time to cook it to perfection. Follow these steps to ensure that your filling is flavorful and ready to be stuffed into the bao buns:
- Heat a tablespoon of cooking oil in a frying pan on medium heat.
- Add the marinated pork or your chosen filling to the pan and cook until it is fully cooked and well-browned.
- Stir the filling occasionally to ensure even cooking and prevent it from sticking to the pan.
- Once the filling is cooked, please remove it from the heat and set it aside.
The cooking time for the filling may vary depending on the type of meat or vegetables you use. Ensure that the filling is fully cooked to avoid any food safety concerns.
Step 4: Preparing the Bao Buns for Cooking
With the buns thawed and the filling cooked, it’s time to prepare the bao buns for cooking. There are two popular methods for cooking bao buns—steaming and pan-frying. Choose the method that suits your preference or experiment with both for different textures and flavours.
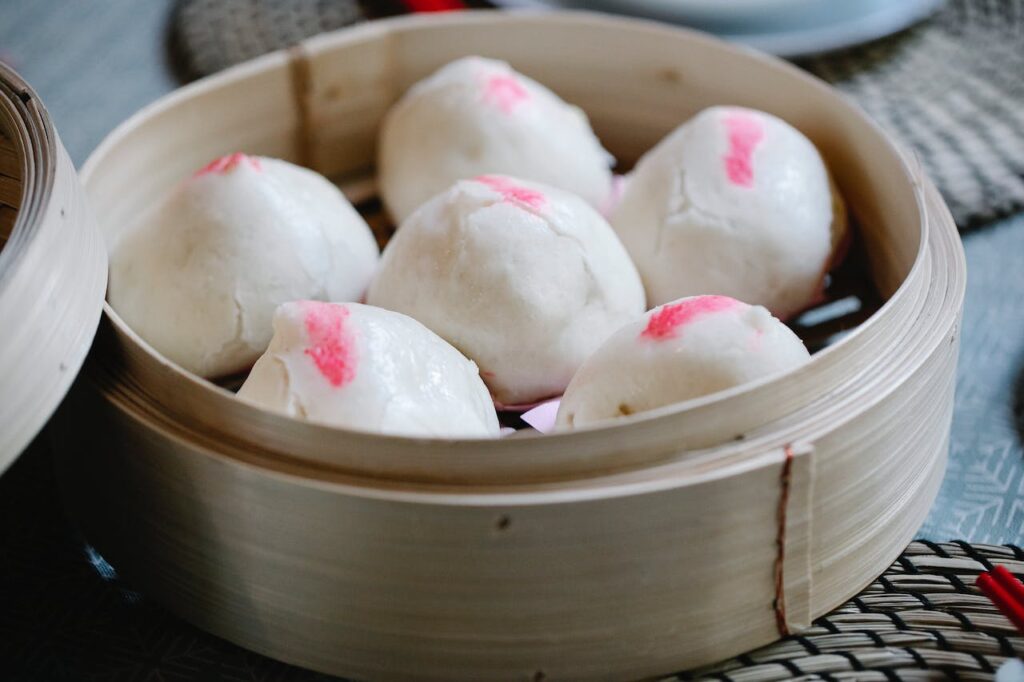
Step 5: Steaming the Bao Buns
Steaming is the traditional method for cooking bao buns, which results in a soft and fluffy texture. Here’s how to steam the bao buns:
- If you have a bamboo steamer, line the basket with parchment paper or cabbage leaves to prevent the buns from sticking.
- If you don’t have a bamboo steamer, you can use a regular steamer lined with parchment paper.
- Place the thawed bao buns in the steamer, ensuring that they are spaced apart to allow room for expansion during cooking.
- Cover the steamer with a lid and steam the buns for approximately 8-10 minutes.
- Check the buns for doneness by inserting a toothpick into one of them. If it comes out clean, the buns are ready.
Steamed bao buns are incredibly light and fluffy, making them a perfect choice for a healthier option.
Step 6: Pan-Frying the Bao Buns
Pan-frying the bao buns adds a delightful crispiness to the exterior while keeping the inside soft and tender. Here’s how to pan-fry the bao buns:
- Lightly grease a non-stick pan with cooking oil and heat it over medium heat.
- Place the thawed bao buns in the pan, ensuring that they are spaced apart to prevent sticking.
- Cook the buns on each side for approximately 2-3 minutes until they turn golden brown.
- Flip the buns gently with a spatula to avoid any breakage.
Pan-fried bao buns offer a delightful contrast of textures with a crispy exterior and a soft, fluffy interior.
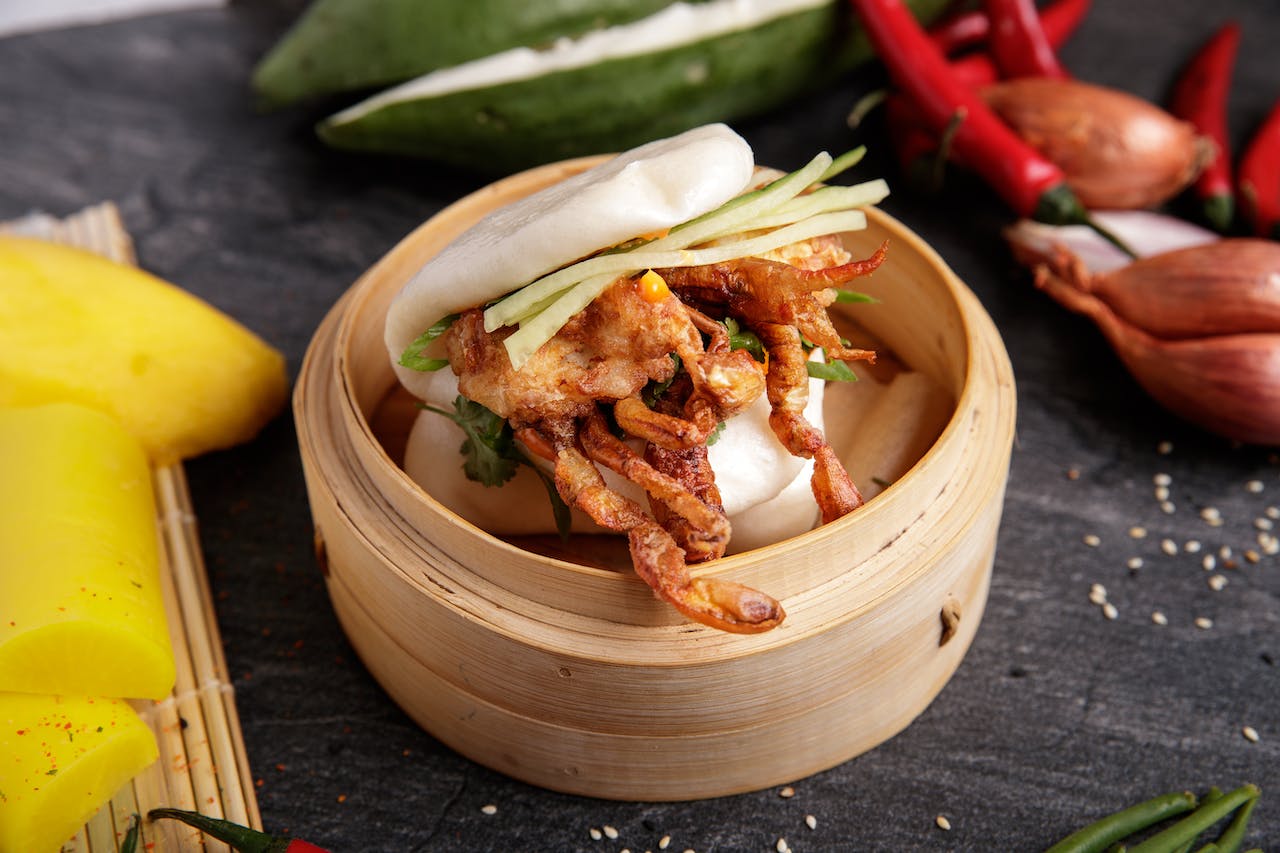
Step7: Assembling and Serving the Bao Buns
Now that you have cooked the bao buns, it’s time to assemble them with the flavorful filling and enticingly serve them. Follow these steps to create a visually appealing and delicious final dish:
- Take a cooked bao bun and gently open it to create a pocket.
- Spoon a generous amount of the cooked filling into the pocket of the bao bun.
- Garnish the bao bun with fresh vegetables like lettuce, cucumber slices, or pickled radish.
- Drizzle your preferred sauces and condiments over the filling. Popular options include hoisin sauce, sriracha, or soy sauce.
- Repeat the process for the remaining bao buns and filling.
- Arrange the assembled bao buns on a serving platter or individual plates.
Get creative with your garnishes and sauces to add an extra burst of flavour and visual appeal. You can also experiment with different fillings and combinations to cater to your taste preferences.
Tips for Perfect Bao Buns
To ensure that your Costco bao buns turn out perfect every time, consider the following tips:
- Thaw the bao buns completely before cooking to ensure even heating and a soft texture.
- Ensure the filling is well-seasoned and flavorful to enhance the overall taste of the bao buns.
- When steaming the bao buns, space them apart to allow room for expansion during cooking.
- Use medium heat when pan-frying the bao buns to prevent them from burning or becoming overly crispy.
- Experiment with different fillings and sauces to create a variety of flavours and cater to different preferences.
By following these tips, you’ll be able to achieve bao buns that are bursting with flavours and have a delightful texture.
Serving Suggestions
Costco bao buns can be served in various ways, depending on your preferences and the occasion. Here are a few serving suggestions:
- Main Course: Serve the bao buns as a main course by pairing them with steamed rice and stir-fried vegetables.This results in a wholesome and gratifying dining experience.
- Appetizers: Arrange the bao buns on a platter and serve them with dipping sauces. This makes for a delightful party snack or appetizer option.
Feel free to get creative with your presentations and garnishes to make the bao buns visually appealing and enjoyable for your guests.
Conclusion
Cooking Costco bao buns at home is a delightful culinary adventure that allows you to savour the flavours of this popular Asian dish. With the convenience of frozen bao buns, you can create a restaurant-quality experience in your kitchen. By following the step-by-step guide and incorporating your favourite fillings, you’ll enjoy delicious bao buns with a soft, pillowy texture bursting with flavours. So, head to your nearest Costco, grab a pack of frozen bao buns, and embark on a journey to create your bao bun masterpiece!
FAQs
- Can I use different fillings for my bao buns? Absolutely! Bao buns are incredibly versatile; you can use any fillings that suit your taste preferences. From traditional meats to vegetarian options, the choice is yours.
- Can I freeze the cooked bao buns for later consumption? While it’s best to consume bao buns immediately after cooking, you can freeze them for a short period. However, note that the texture may change slightly upon reheating.
- Are Costco bao buns pre-steamed or raw? Costco bao buns are typically raw and frozen. You must steam or pan-fry them to cook and enjoy their soft and fluffy texture.
- Can I reheat frozen bao buns without thawing them? It’s recommended to thaw the bao buns before cooking to ensure even heat distribution and to prevent them from becoming soggy or undercooked in the middle.
- How do I store unused bao buns? If you have unused bao buns, store them in an airtight container in the freezer. They can be kept for a few months and easily reheated whenever you’re ready to enjoy them.
Just days ago I discovered this awesome website, a standout for fans. The gifted owner keeps visitors riveted with spot-on content. I’m stoked to be a new member of the community and eager to see what interesting content comes next!